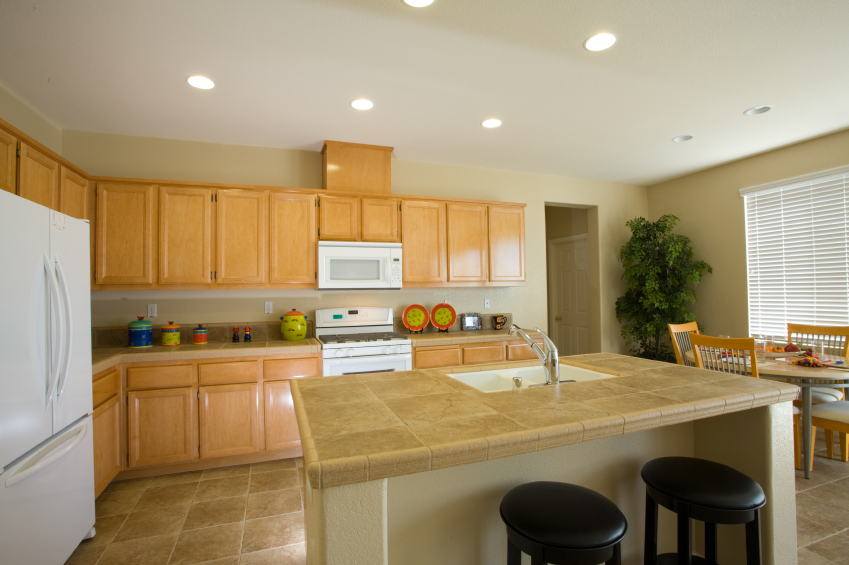
Are you over those boring builder’s grade oak cabinets, but the thought of spending a fortune on new ones makes you cringe? There is a simple solution, if you’re brave enough to give it a shot. Many online bloggers have reported excellent results with a simple and inexpensive product called General Finishes Java gel stain.
Note that others who have tried this swear by this brand and also this color. However, there are many different brands of gel stains and many different colors. Keep in mind that you are staining over the current color, so don’t expect a result exactly like the one shown on the packaging. The color will be slightly different. Java results in a deep, very dark brown color. You will still see the wood grain. Yes, you can also use this on the side panels that are not real wood.
New cabinets can run into tens of thousands of dollars, so this technique is definitely worth a try. Even if you don’t care for the result, you can always paint over them, after all.
Five Steps to Beautiful New Looking Cabinets
1. Prep the Cabinets
Clean off the buildup on your cabinets. There are many different ways to do this. You can use the cleaning wipes with a scrubby side, you can use Dawn dishwashing soap, water, and a rough sponge, or you can purchase special cleaners to strip off any buildup. The key is to get the cabinets and faces as clean as possible. Get all the built-up junk and grime off or you may see it through your new stain.
2. Stain the Cabinets
This part of the process is very messy. Spread out plastic tarps, take the doors off the cabinets, take hardware off and use an old sock to spread the stain on evenly. Try to use a very thin coat.
Allow the coat to dry completely. This can take anywhere from 24 hours to three or four days. You’ll do a total of three or four coats over the oak.
3. Steel Wool Between Coats
When the first coat is completely dry, use steel wool to brush over the surface. This will remove any impurities that got into the stain while you were brushing it on or while it was drying. This can include stray hair, pieces of fuzz, etc. This is a very important step if you want a final, professional finish.
4. Polyurethane Top Coats
Once all the coats of gel stain are on and you are happy with the color, you’ll want to add a couple of layers of top coat, allowing each to dry in between. Try to stay away from a high gloss top coat as it will show any imperfections more clearly. A nice satin top coat usually works best.
5. New Hardware
Once the top coats are dry, add new hardware for a finished look. If you don’t want to invest in new hardware, you can paint your current hardware with a metallic spray paint or simply clean it and put it back on.
Still scared to give this a try? Start small on a bathroom vanity or purchase a used piece of cabinetry at a yard sale or thrift store and experiment on that to be sure you love the look.


